
Image Source: FreeImages
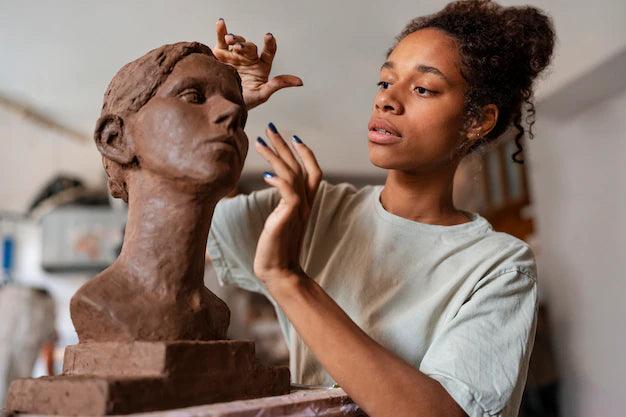
Are you interested in exploring your creative side and delving into the world of sculpting? Look no further than this beginner's guide to sculpting with clay! From the moment you get your hands on a block of clay, you'll be transported to a world of endless possibilities. With a little bit of patience and guidance, you'll be able to transform that clay into a masterpiece that you can proudly display. In this guide, we'll cover everything you need to know to get started, including the different types of clay, the tools you'll need, and some basic sculpting techniques. Whether you're a complete beginner or have some experience with sculpting, this guide will provide you with the knowledge and inspiration to create something truly unique and beautiful. So, let's get started on this exciting journey from clay to masterpiece!
Types of clay and their unique properties
The first step in sculpting with clay is to choose the right type of clay for your project. There are several types of clay available, each with its own unique properties and characteristics. Here are some of the most common types of clay:

1. Earthenware
Earthenware is a low-fire clay that is easy to work with and is ideal for beginners. It is typically red or brown in color and is fired at a temperature of around 1000 to 1150 degrees Celsius. Earthenware is porous and is not suitable for items that need to hold water or be food safe. It is great for decorative items and sculptures.
2. Stoneware
Stoneware is a high-fire clay that is durable and non-porous, making it suitable for items that need to hold water or be food safe. It is typically gray or brown in color and is fired at a temperature of around 1200 to 1300 degrees Celsius. Stoneware is a bit more challenging to work with than earthenware, but it is ideal for functional items like plates, bowls, and vases.
3. Porcelain
Porcelain is a high-fire clay that is translucent and beautiful. It is typically white in color and is fired at a temperature of around 1300 to 1400 degrees Celsius. Porcelain is very challenging to work with and is not recommended for beginners. It is ideal for delicate and intricate sculptures and decorative items.
4. Polymer Clay
Polymer clay is a type of clay that is synthetic and is not made from natural materials like the other clay types. It is easy to work with and is ideal for beginners. It is available in many colors and can be cured in a home oven. Polymer clay is not suitable for items that need to hold water or be food safe. It is great for jewelry making and small sculptures.
5. Paper Clay
Paper clay is a type of clay that is mixed with paper fibers. It is lightweight and easy to work with. Paper clay is great for creating sculptures that need to be lightweight and for paper mache projects. It is not suitable for items that need to hold water or be food safe.
Essential tools for sculpting with clay
Once you have chosen the right type of clay for your project, the next step is to gather the essential tools you'll need to sculpt with clay. Here are some of the most important tools you'll need:

1. Clay
Of course, the most important tool you'll need is clay! Make sure you have enough clay to complete your project. It's always a good idea to have a little extra on hand just in case.
2. Clay Knife
A clay knife is a sharp blade that is used to cut and shape clay. It is an essential tool for any clay sculptor.
3. Wire Clay Cutter
A wire clay cutter is a tool that is used to cut large blocks of clay into smaller pieces. It is also useful for removing excess clay from your sculpture.
4. Clay Shaper
A clay shaper is a tool that is used to smooth and shape clay. It is available in different shapes and sizes and is ideal for creating details on your sculpture.
5. Rolling Pin
A rolling pin is used to flatten clay and create even slabs. It is an essential tool for creating large sculptures and slabs of clay.
Basic sculpting techniques - pinch, coil, and slab
Now that you have your clay and essential tools, it's time to start sculpting! There are several basic sculpting techniques that every beginner should learn. These techniques include pinch, coil, and slab.

1. Pinch Technique
The pinch technique involves taking a small ball of clay and pinching it with your fingers to create a shape. This technique is great for creating small details and is easy for beginners to learn.
2. Coil Technique
The coil technique involves rolling clay into long, thin ropes and then coiling them together to create a shape. This technique is great for creating cylinders and other curved shapes.
3. Slab Technique
The slab technique involves rolling clay into flat sheets and then cutting and shaping them to create a shape. This technique is great for creating large, flat surfaces like plates and tiles.
Advanced sculpting techniques - carving, smoothing, and texture
Once you have mastered the basic sculpting techniques, you can move on to more advanced techniques like carving, smoothing, and texture.

1. Carving
Carving involves using a tool to remove clay from your sculpture to create a shape or texture. This technique is great for creating intricate details and adding depth to your sculptures.
2. Smoothing
Smoothing involves using a tool to smooth out the surface of your sculpture. This technique is great for creating a polished and finished look.
3. Texture
Texture involves using various tools and techniques to add texture to your sculpture. This technique is great for creating a unique and interesting look to your sculpture.
Tips for creating a successful sculpture
Creating a successful sculpture takes time and practice. Here are some tips to help you create a sculpture that you can be proud of:

1. Plan your sculpture
Before you start sculpting, it's important to have a plan for your sculpture. Think about the shape, size, and details you want to include. Sketch out your ideas on paper before you start working with clay.
2. Keep your tools clean
Clean tools are essential for creating a successful sculpture. Make sure to clean your tools after each use to prevent clay from building up on them.
3. Take breaks
Sculpting can be a time-consuming and tiring process. Take breaks often to prevent fatigue and to give yourself a fresh perspective on your sculpture.
4. Experiment with different techniques
Don't be afraid to experiment with different sculpting techniques to create a unique and interesting sculpture.
5. Have patience
Creating a successful sculpture takes time and patience. Don't rush the process and take your time to create something truly amazing.
Common mistakes to avoid while sculpting
While sculpting can be a fun and rewarding experience, there are some common mistakes that beginners often make. Here are some mistakes to avoid:
1. Overworking the clay
Overworking the clay can cause it to become dry and brittle. Make sure to keep the clay moist and to work with it gently.
2. Not cleaning your tools
Dirty tools can cause your sculpture to become contaminated and can ruin all your hard work. Make sure to clean your tools after each use.
3. Rushing the process
Sculpting takes time and patience. Don't rush the process and take your time to create something truly amazing.
4. Not planning your sculpture
Planning your sculpture is essential for creating a successful sculpture. Take the time to sketch out your ideas before you start working with clay.
5. Using too much clay
Using too much clay can cause your sculpture to become heavy and difficult to work with. Use only the amount of clay that you need for your project.
Inspiration and ideas for your clay sculptures
Looking for inspiration for your next clay sculpture? Here are some ideas to get you started:

1. Animals
Animals are a popular subject for clay sculptures. Try sculpting your favorite animal or a beloved pet.
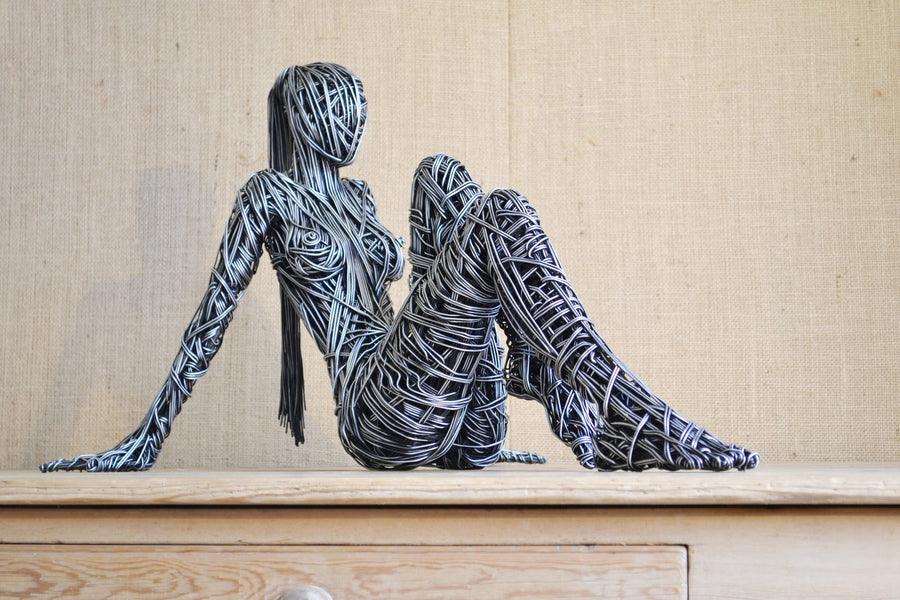
2. Human figures
Human figures are another popular subject for clay sculptures. Try sculpting a portrait of a loved one or a famous figure.
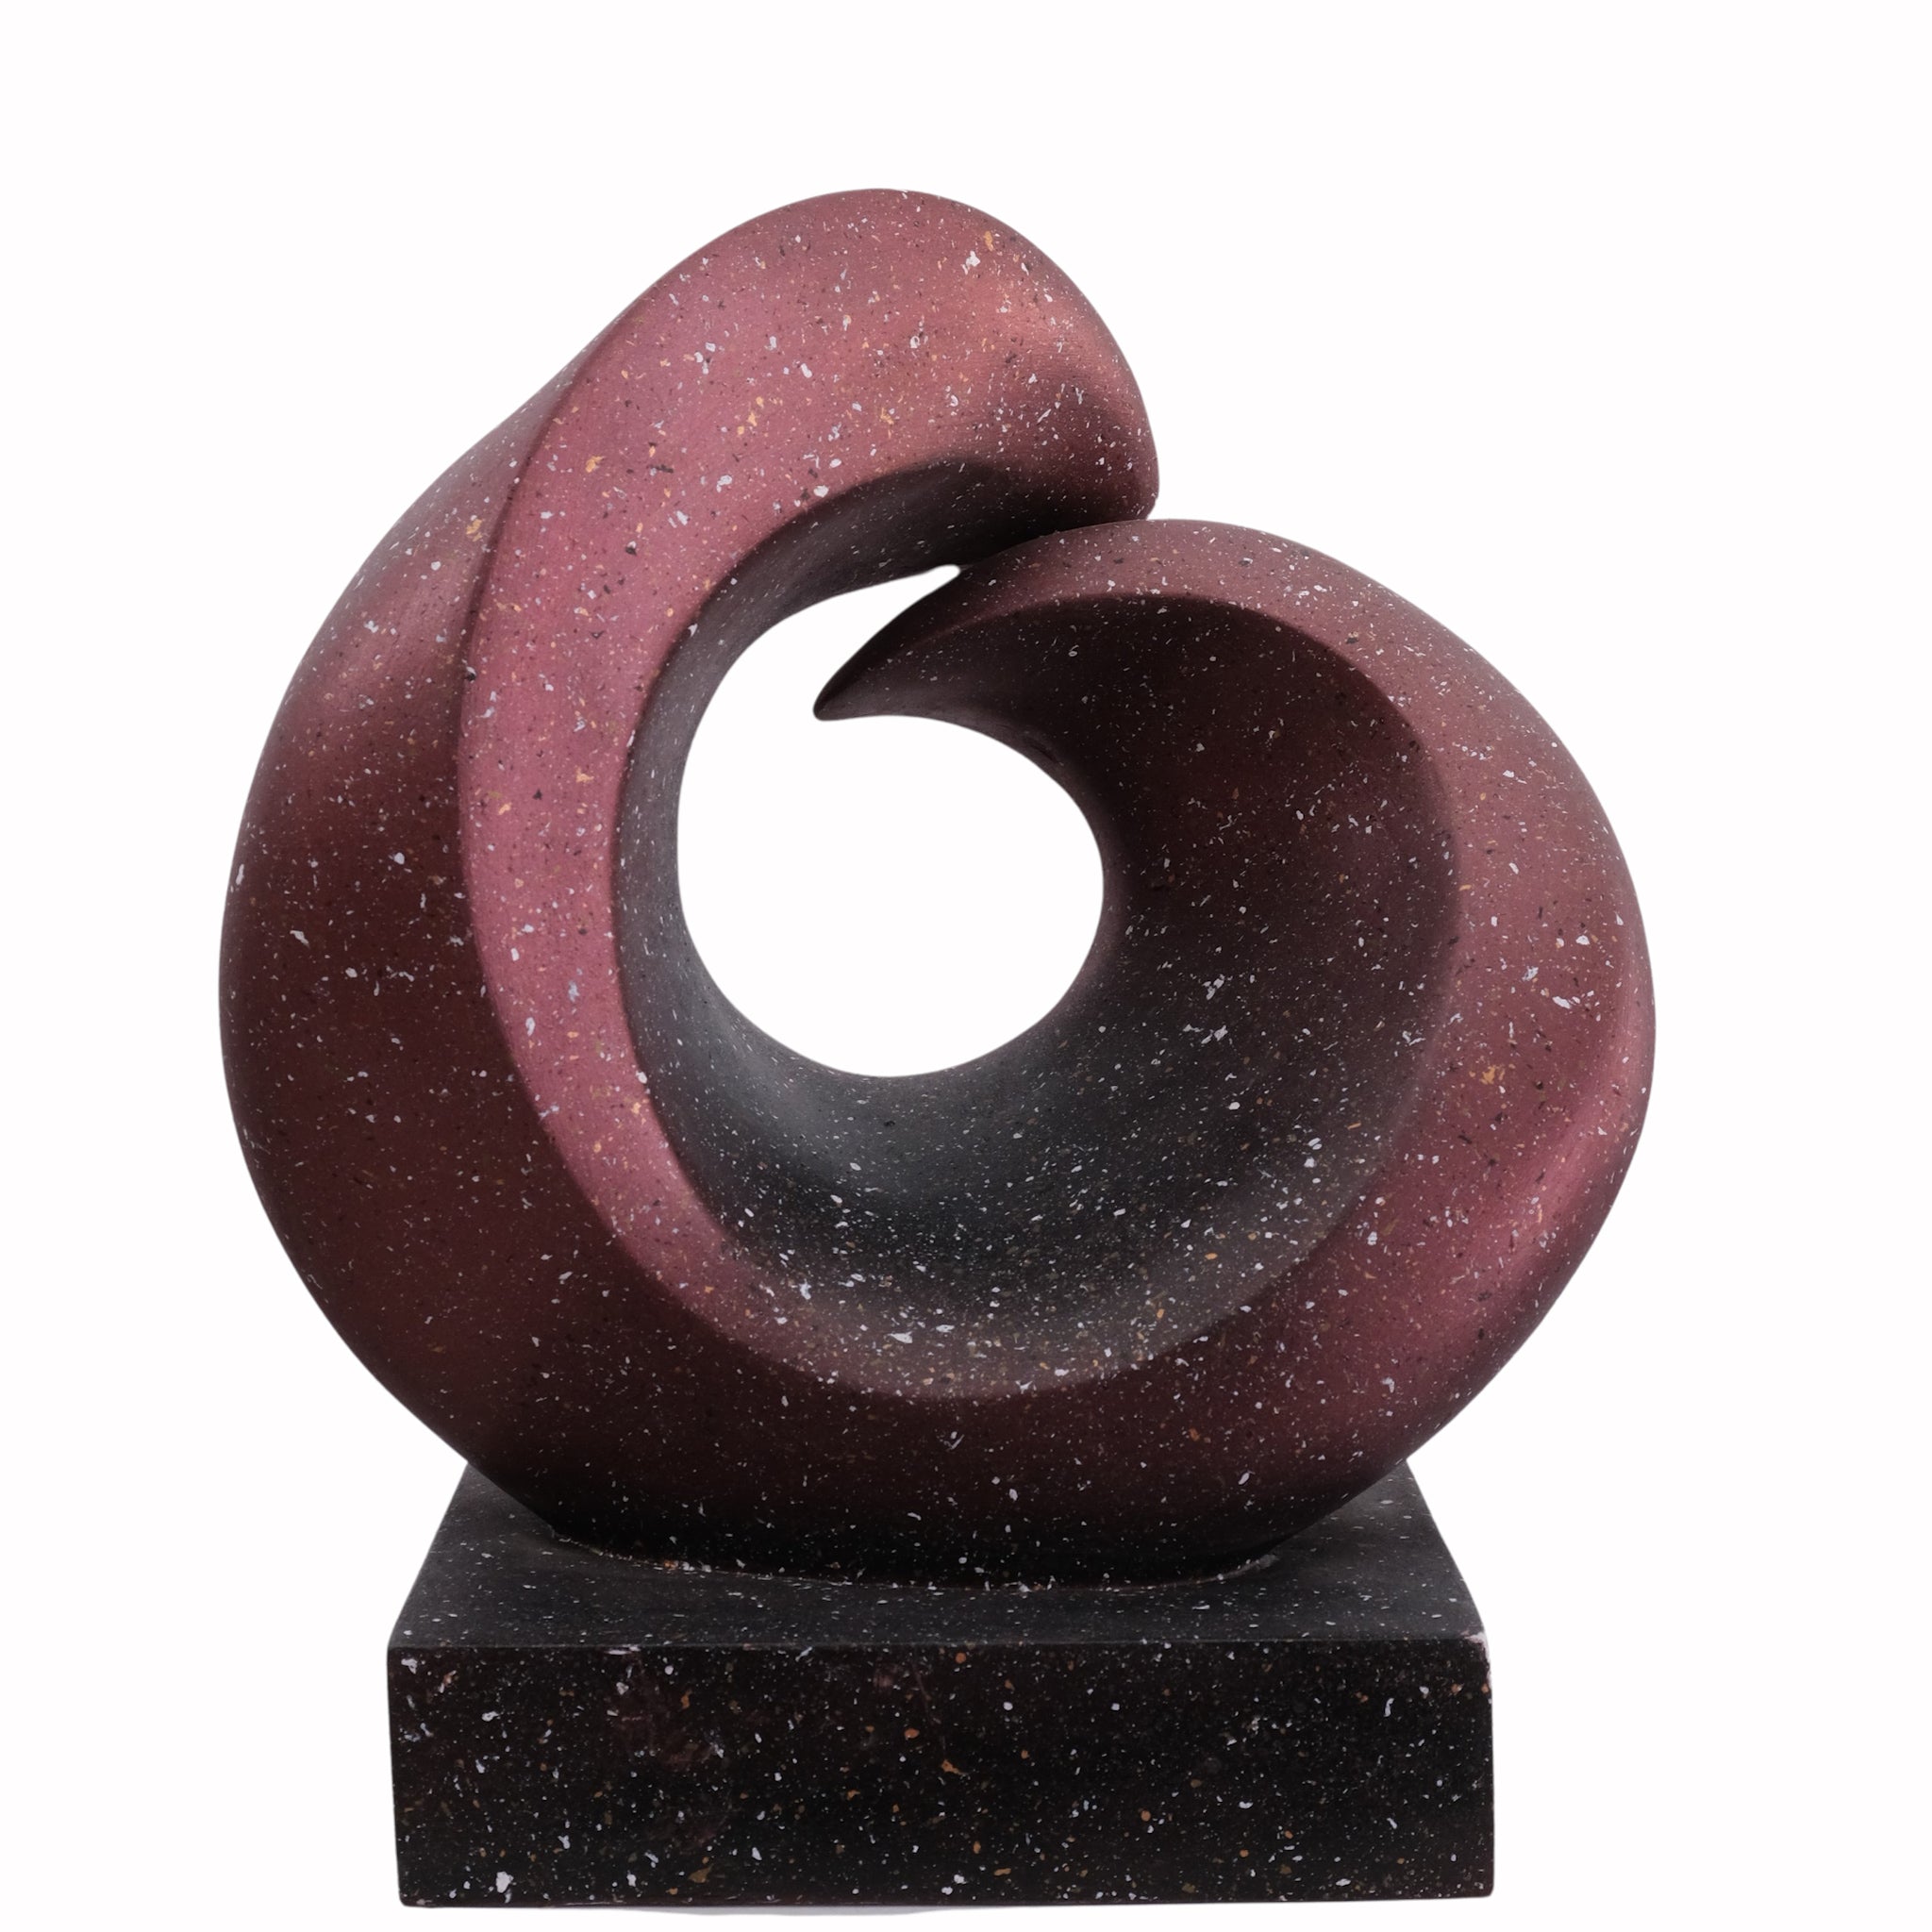
3. Abstract shapes
Abstract shapes are a great way to experiment with different sculpting techniques and create something truly unique.
4. Nature
Nature is a great source of inspiration for clay sculptures. Try sculpting flowers, leaves, or trees.
5. Mythical creatures
Mythical creatures like dragons and unicorns are a fun and creative subject for clay sculptures.
Maintaining and preserving your clay sculptures
Once you have completed your clay sculpture, it's important to maintain and preserve it properly. Here are some tips:
1. Allow the clay to dry completely
Before you can preserve your clay sculpture, you need to allow the clay to dry completely. This can take several days to a few weeks depending on the size of your sculpture.
2. Seal the sculpture
Once the clay is completely dry, you can seal it with a clear acrylic sealer. This will protect the sculpture from moisture and dust.
3. Display the sculpture properly
Display your sculpture in a location that is not exposed to direct sunlight or moisture. Avoid touching the sculpture with your hands as the oils from your skin can damage the clay.
4. Clean the sculpture regularly
Clean your sculpture regularly with a soft, dry cloth to remove dust and debris.
Conclusion - the joy and fulfillment of creating with clay
Sculpting with clay is a wonderful way to explore your creativity and express yourself. With the right tools, techniques, and inspiration, you can create something truly unique and beautiful. Whether you're a complete beginner or have some experience with sculpting, this guide has provided you with the knowledge and inspiration to create something amazing. So, go ahead and get your hands dirty with clay and enjoy the joy and fulfillment of creating something wonderful!



Leave a comment
All comments are moderated before being published.
This site is protected by hCaptcha and the hCaptcha Privacy Policy and Terms of Service apply.